Can You Clean Upholstery in a Motorhome RV? Where to start.
It is possible to clean the upholstery in a Motorhome RV. Cleaning motorhome upholstery is time consuming but the end results are worth it.
The soft furnishings in a motorhome can be really difficult to clean. All the advice goes against actually cleaning the foam of the motorhome furnishings but the foam in a 30-year-old motorhome is screaming for a good wash.
After 30 years of use by unknown owners, you have no idea what’s been going on in your motorhome. This is the reason that we explored the topic of how to clean the upholstery in a motorhome.
The upholstery in a motorhome tends to take a lot of punishment and you can spend a long time on those cushions – eating, sitting, sleeping. Keeping them clean can be a challenge but it’s important that you do.
If you go down the washing of the foam route you will probably never have to do that again unless you really want to but that should be a last resort – you don’t want mould in the depths of that foam.
Our upholstery was not very fresh smelling so we had to try and fix that. These are the steps we took to try and get the motorhome smelling better over quite a long period of experimentation. Hope it helps you.
Where to Start
We tried a few things before we got to the washing the foam stage. Your upholstery may not be in the same conditions as ours so you may not need some of the steps we took.
The first step is to wash the covers.
We washed all the covers both the old and new on a delicate cycle and they came out smelling fresh. We hung them outside to dry on a nice windy, sunny day. Doing this will help do get rid of any odours in the covers
Put the foam cushions in direct sunlight for as long as possible.
This can help to get rid of smells in the foam. The longer you can leave them outside and the hotter the sun, the better.
Use some Bicarbonate of Soda to deodorise the foam.
This is another step to help get rid of any smells from the foam and make them smell fresh again. Just sprinkle some bicarbonate of soda on the foam and that will help with any odours.
Wash the foam.
This is a last resort. You really want to try the other steps before you get to this one. Foam is notoriously difficult to dry. Just the nature of foam helps it retain water. This is the sort of job you want to do during a heatwave but the problem with that is you want to be away in the van during a heatwave so there is a bit of a catch 22.
Cleaning the Cushion Covers
We first cleaned our upholstery by stripping all the old covers off down to the foam and putting them in the washing machine. We found the original covers were still there, under the top covers, from 1990 looking a bit worn but still in quite a good condition. Someone had made new covers for the motorhome and put the new ones directly over the old ones.
We just popped all the covers into the washing machine on a delicate cycle. You have to be careful not to get the covers too hot or they may shrink. It is also a good idea to start with one set of cushion covers to test out if it will work without shrinking the covers. Once the test covers are done and you are happy with the result – and they can still fit over the cushion foam, then you are good to go.
While the covers were being washed we left the foam in the sunshine for as long as possible – a few days (the whole of the Scottish summer). This made a big difference to the overall smell of the motorhome. The smell wasn’t bad, it was just there, persistent.
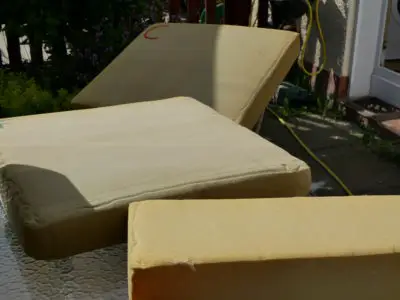
You can freshen up the cushions with sprays but we are not keen on using chemicals to cover up smells in such a confined space. That’s why we went for good old fashioned washing to try and solve the problem.
Having two sets of covers to wash gave us a whole lot of material to deal with.
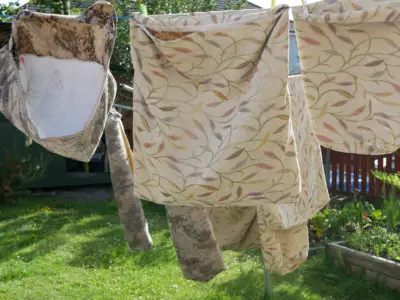
Once the covers were dry we could start putting them back onto the foam.
The original covers were in quite a poor condition but very well made and padded on the tops of the cushions so add a bit more padding to the foam. We decided to keep them. If we ever get round to re-upholstering the foam cushions these would be great to replicate.
Although a complete re-upholster and replacement of the original foam would be great. It has not come far enough up the to-do list to be done and this option is very expensive. There are too many more important things to be done (like the engine). This is why we went for the deep clean.
If you are thinking about doing a deep clean of the upholstery then one piece of advice would be – give yourself plenty of time. It takes quite a while to get the covers off, washed and dried but the really special, fun part is putting them back on again. Always a challenge and a good bonding experience for you and your partner/family.
Once you get the covers back on they should be smelling fresh but you may be single/divorced.
Bicarbonate of Soda
This is a relatively easy method. All you do is rub some bicarbonate of soda into the foam. It will just disappear right into the foam so you need quite a lot. We got a big tub of bicarbonate of soda.
Once the foam had been out in the sun for a while we rubbed bicarbonate of soda into the foam and let that sit overnight. Bicarbonate of soda gets rid of odours and is non-toxic. It can take a while to rub in, the bicarb will just disappear into the foam but just keep at it. The Bicarbonate will go everywhere so maybe a good idea to do this outside.
We did use a fair amount of bicarbonate of soda, the big tub comes in handy. It does go everywhere so try and do this in an area where you can sweep up any Bicarb that comes out of the foam.
Once we were ready to put the covers back on you have to thump the foam and get as much bicarbonate of soda out of the foam as you can. A good job for outside.
This reduced the odours in the foam for us and is a good method for freshening up the foam but there are some cushions that you may just want to wash….
Washing the Foam
The main problem we had was the actual age of the foam. At around 30 years old, you would expect the foam is quite manky as they would say in Glasgow. Not very pleasant.
All the advice I could see was not to wash the foam, keep it dry and only exposed to a minimum amount of water. This makes sense as they are really difficult to dry out especially in our climate which is cold and wet, not good for drying anything.
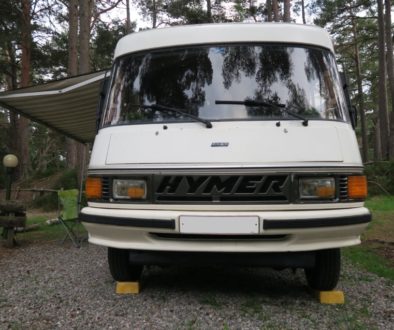
When we stripped off the layers of cushion covers, even although our foam is ancient it is still very springy and holds its shape well, there is no evidence of the foam breaking down. The foam used in Hymers appears to be of exceptional quality. I could see from the condition of the foam we could attempt to wash them.
Replacing this foam with a similar quality would be a costly project.
After a couple of attempts to get the cushions clean by cleaning the covers, we finally bit the bullet and using the bath we started cleaning the foam, just for the one seat – the worst one.
We kept a close eye on the weather and had to clean the foam in the summer during a Scottish heatwave – just above 20 degrees celsius, as it’s the only time we can get things dry.
We started off slow just with one seat cushion and the back for it. So only two cushions at a time. That way we would know if it was possible to wash them and more importantly dry the cushions.
You may be asking what the problem is if the foam cushions don’t dry?
If you can’t get the foam dry enough, quickly there is a good chance that you will get mould growth in the middle of your foam cushions. Once that happens they are pretty much done and will need to be replaced. That’s why there is a level of urgency and risk.
Method
- To wash the foam we just put a cushion in the bath one at a time with a little bit of very mild detergent, we used Method laundry liquid. Just a squirt in a bath of water.
- Work on the foam for a while and get that water and soap right in there. Don’t use too much soap or you will have a real problem getting it out.
- We then emptied the bath and squeezed as much water as we could out of the foam.
- Fill up the bath with water for a rinse and get all the soap out.
- Squeeze out the water again – feet are great for this.
- Lift the foam out the bath – it will be heavy, very heavy.
- Try and get the foam outside to dry without soaking the whole house
- Prop up the foam so that the water runs out and leave in the sun until dry.
- If it doesn’t dry before sunset bring the foam inside and put out the next day.
- Once dry, put on the covers – as easy as that.
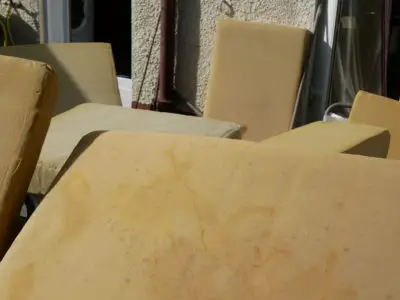
Cleaning the foam is a bit of a marathon and when they are wet can be very heavy. It is not a job for the faint-hearted.
It may be worth doing over a couple of seasons to relieve the pressure of getting it done but once you start there may be no stopping you.
Just a word of warning – your house may look like it’s in the middle of a disaster while this is going on and we did get water everywhere. It’s a simple job but I wouldn’t say it’s easy. Took us about 2 days to get through all the foam cushions but we do have two lounge areas.
Once you have done a good cleaning of the upholstery and cushions your van will be smelling fresh again and you will be more comfortable knowing that you are sleeping in a nice clean bed in a nice clean van. That sort of peace of mind is priceless.
Let me just be clear and say cleaning the foam is a last resort. Try all the other methods of cleaning first. Even though we had a real heatwave here, at least for Scotland with the temperature in the shade of around 22-24 degree celsius I had those cushions out every day exposed to full sun for more than four days before they were dry. The moisture gets caught in the foam and refuses to come out.
The process of cleaning is exhausting and the foam is really heavy when wet. It’s not a job I will be rushing to do again and there is a fair amount of risk – if you don’t get them dry your foam will be ruined. That said, if you decide to go for it I wish you the best of luck.

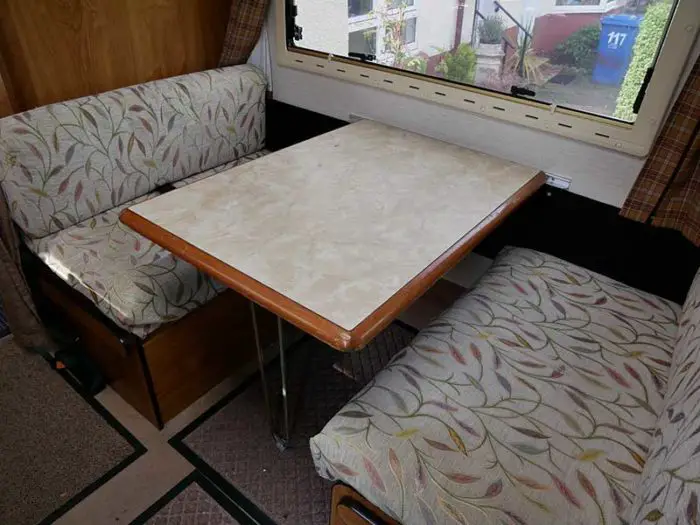

February 12, 2021 @ 09:38
Great article again Paul. When we bought our 1992 VW Autotrail motorhome a few years ago we were amazed at the dust and dirt in the seat covers. It wasn’t visible until you hit the seat with your hand and a plume of dust rose into the air! Urgh! So, we took the covers off and let them soak in the bath. You should have seen the muck coming out of them! We think it was probably the first time the covers had been cleaned in a quarter of a century!
February 14, 2021 @ 13:26
Thanks again Gav and Trudi. It can be surprising what you are sitting on 😁. Bet it felt better once you knew you had cleaned them.
September 7, 2022 @ 12:50
Very helpful article BUT…
Our motorhome covers all say DRY CLEAN ONLY! Was this the case with your material?
September 19, 2022 @ 11:01
We weren’t sure so we tested one cover (the smallest one) in a very delicate wash. Came out fine.
Ours have the original covers and new ones over the top
Washed them all with no problems. I think delicate, cool washes are the key.
It is a risk but one we were willing to take.